What you need:
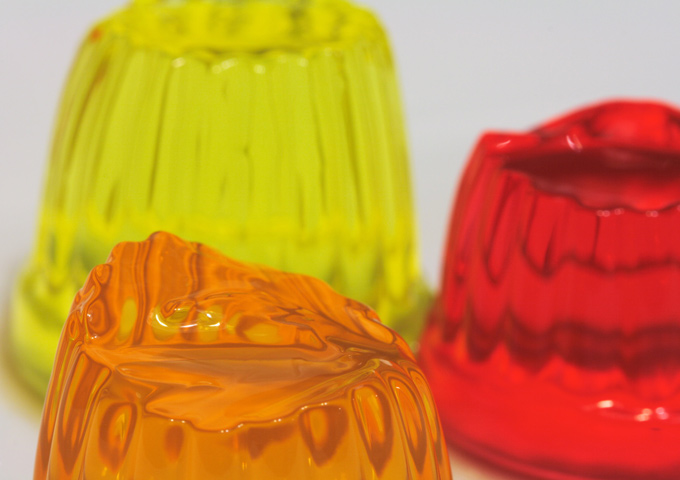
- jelly (of one or more colours)
- a flat-based container
- cutting board
- knife
- torch
- hair comb
What to do:
- Make some firm jelly in the container (use half the normal amount of water). Leave to set overnight.
- Turn the jelly out onto a cutting board and cut some lens shapes using a knife.
- You can make up your own shapes but try to cut some that are thick in the middle and thin at ends (like a leaf ), and thin in the middle and thick at the ends (like an hourglass).
- Shine the torch light through the shapes from the side and watch what happens (it is easier to see if you first shine the torch light through the comb to get thin beams of light). And yes, you can eat the jelly now.
What’s happening?
When the light travels between the jelly and the air it often changes its direction. This is called refraction. The amount that the light appears to bend depends on the shape and angle of the jelly.
If the jelly is a convex lens shape (like a leaf) the beams of light will bend towards each other, focusing. This happens in simple lenses that you find in all kinds of places, such as in a magnifying glass and even in your eye. A concave lens will spread the light out, and they are often used in combination with convex lenses including in a camera lens.
Image by m104 (CC-BY-NC-SA-2.0)